Projects
Dagster follows standard Python conventions, and most work in Dagster begins by creating a Python package called a project. This is where you’ll define your pipelines, as well as any dependencies within your project.
To streamline project creation, Dagster provides the create-dagster CLI, which quickly scaffolds a Python package containing a Dagster Definitions object. When you scaffold the project, the Definitions object will not contain any other Dagster objects.

1. Scaffold a Dagster project
- uv
- pip
-
Open your terminal and scaffold a new Dagster project:
uvx create-dagster@latest project dagster-tutorial -
Respond
yto the prompt to runuv syncafter scaffolding:
-
Change to the
dagster-tutorialdirectory:cd dagster-tutorial -
Activate the virtual environment:
- MacOS/Unix
- Windows
source .venv/bin/activate.venv\Scripts\activate
-
Open your terminal and scaffold a new Dagster project:
create-dagster project dagster-tutorial -
Change to the
dagster-tutorialdirectory:cd dagster-tutorial -
Create and activate a virtual environment:
- MacOS/Unix
- Windows
python -m venv .venvsource .venv/bin/activatepython -m venv .venv.venv\Scripts\activate -
Install your project as an editable package:
pip install --editable .
Dagster project structure
Your new Dagster project should have the following structure:
- uv
- pip
 .
 ├── pyproject.toml
 ├── README.md
 ├── src
 │   └── dagster_tutorial
 │       ├── __init__.py
 │       ├── definitions.py
 │       └── defs
 │           └── __init__.py
 ├── tests
 │   └── __init__.py
 └── uv.lock
 .
 ├── pyproject.toml
 ├── README.md
 ├── src
 │   └── dagster_tutorial
 │       ├── __init__.py
 │       ├── definitions.py
 │       └── defs
 │           └── __init__.py
 └── tests
     └── __init__.py
pyproject.tomldefines the metadata and Python dependencies for the project.- The
srcdirectory will contain code for the project. src/definitions.pydefines the main Dagster project object.- The
testsdirectory will contain tests for the project.
2. Start the Dagster webserver
When you initialize a project with create-dagster, the dagster-dg-cli library is installed. This provides the dg CLI, which includes several commands to help you structure and navigate Dagster projects. For more details, see the dg CLI documentation.
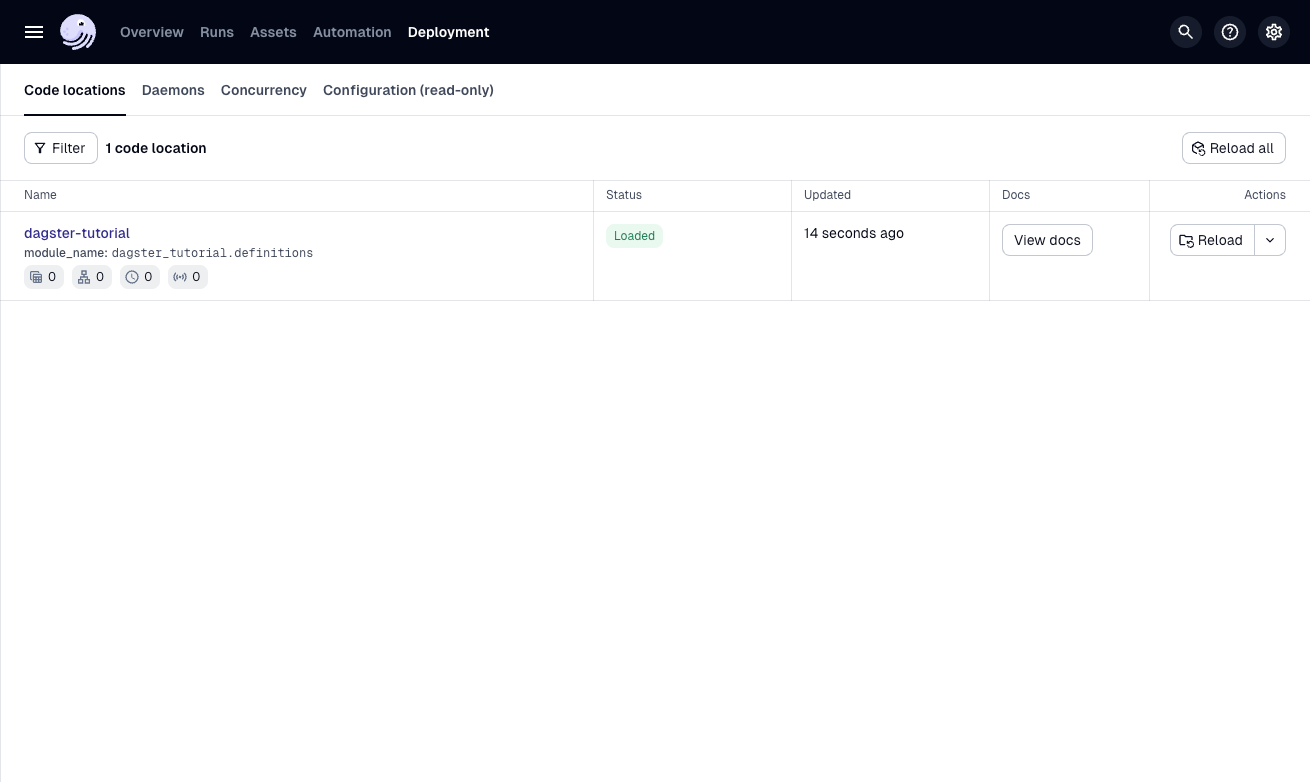
Use the following command to launch the Dagster UI locally:
dg dev
Then, in a browser, navigate to http://127.0.0.1:3000.
At this point, your project will be empty, but you’ll continue adding to it throughout the tutorial.
As you develop with Dagster, it’s often useful to periodically run dg dev to view your project.