Setting up Microsoft Entra ID (formerly Azure Active Directory) SSO for Dagster+
In this guide, you'll configure Microsoft Entra ID (formerly Azure Active Directory) to use single sign-on (SSO) with your Dagster+ organization.
Prerequisites
To complete the steps in this guide, you'll need:
- An existing Azure Active Directory account
- To install the
dagster-cloudCLI - The following in Dagster+:
- A Pro plan
- Access to a user token
- Organization Admin permissions in your organization
Step 1: add the Dagster+ app in Azure AD
In this step, you'll add the Dagster+ app to your list of managed SaaS apps in Azure AD.
- Sign in to the Azure portal.
- On the left navigation pane, click the Azure Active Directory service.
- Navigate to Enterprise Applications and then All Applications.
- Click New application.
- In the Add from the gallery section, type Dagster+ in the search box.
- Select Dagster+ from the results panel and then add the app. Wait a few seconds while the app is added to your tenant.
Step 2: configure SSO in Azure AD
In this step, you'll configure and enable SSO for Azure AD in your Azure portal.
-
On the Dagster+ application integration page, locate the Manage section and select single sign-on.
-
On the Select a single sign-on method page, select SAML.
-
On the Set up single sign-on with SAML page, click the pencil icon for Basic SAML Configuration to edit the settings.
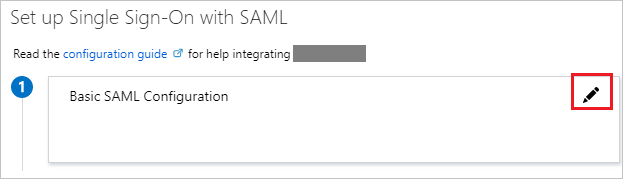
-
In the Basic SAML Configuration section, fill in the Identifier and Reply URL fields as follows:
Copy and paste the following URL, replacing
<organization_name>with your Dagster+ organization name:https://<organization_name>.dagster.cloud/auth/saml/consume -
Click Set additional URLs.
-
In the Sign-on URL field, copy and paste the URL you entered in the Identifier and Reply URL fields.
-
Next, you'll configure the SAML assertions. In addition to the default attributes, Dagster+ requires the following:
FirstName-user.givennameLastName-user.surnameEmail-user.userprincipalname
Add these attribute mappings to the SAML assertion.
-
On the Set up single sign-on with SAML page:
-
Locate the SAML Signing Certificate section.
-
Next to Federation Metadata XML, click Download:
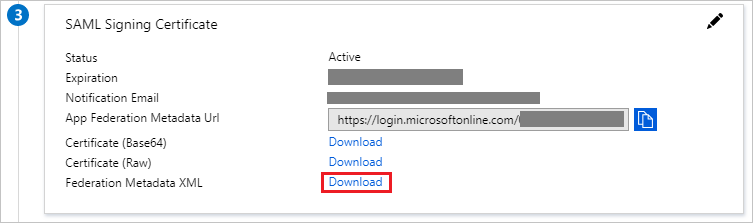
When prompted, save the SAML metadata file to your computer.
-
Step 3: upload the SAML metadata to Dagster+
After you've downloaded the SAML metadata file, upload it to Dagster+ using the dagster-cloud CLI:
dagster-cloud organization settings saml upload-identity-provider-metadata <path/to/metadata> \
   --api-token=<user_token> \
   --url https://<organization_name>.dagster.cloud
Step 4: create a test user
In this section, you'll create a test user in the Azure portal.
- From the left pane in the Azure portal, click Azure Active Directory.
- Click Users > All users.
- Click New user at the top of the screen.
- In User properties, fill in the following fields:
- Name: Enter
B.Simon. - User name: Enter
B.Simon@contoso.com. - Select the Show password checkbox and write down the value displayed in the Password box.
- Name: Enter
- Click Create.
Step 5: Test your SSO configuration
Lastly, you'll test your SSO configuration:
Testing a service provider-initiated login
-
Navigate to your Dagster+ sign in page at
https://<organization_name>.dagster.cloud -
Click the Sign in with SSO button.
-
Initiate the login flow and address issues that arise, if any.
Testing an identity provider-initiated login
Click Test this application in the Azure portal. If successful, you'll be automatically signed into your Dagster+ organization.